From Trash to Treasure: Reviving ‘Broken’ Arduino Boards in a High School Lab
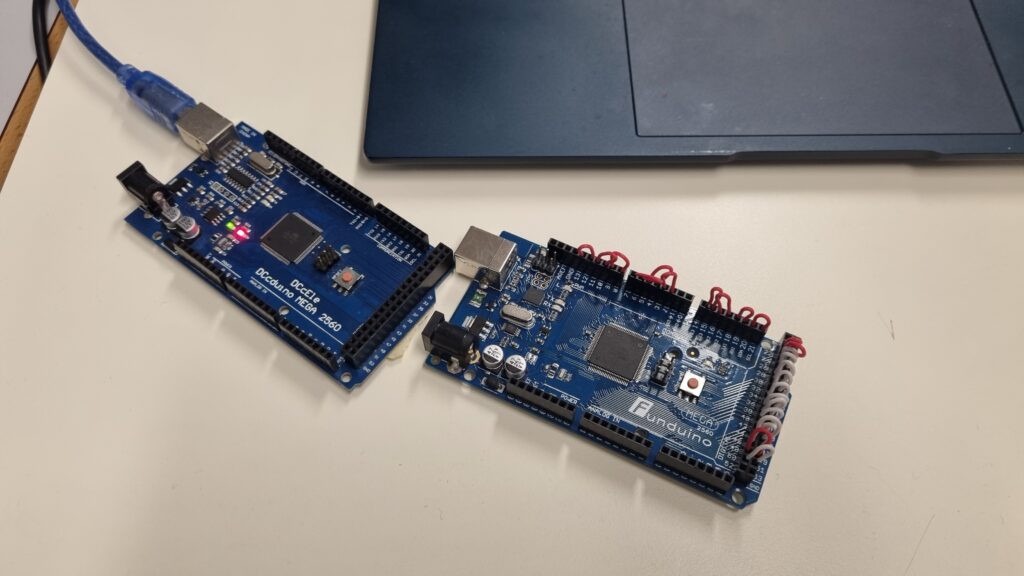
As a high school teacher in charge of an industrial automation lab, I recently embarked on an unexpected journey of discovery and innovation. While organizing some cabinets in our lab, I stumbled upon a collection of Arduino Mega and Arduino Uno boards, each bearing a foreboding label: “broken”. Instead of discarding these seemingly defunct boards, I saw an opportunity for a valuable teaching moment and a chance to breathe new life into our lab equipment.
The Initial Challenge
The discovery of these “broken” boards raised an intriguing question: Were they truly beyond repair, or could they be salvaged? This question led me to develop a systematic approach to testing and potentially reviving these Arduino boards.
Step 1: The Classic Blink Test
The first step in our diagnostic process was the classic “Blink” test. This simple yet effective method involves:
- Connecting the board to a computer
- Uploading a basic LED blinking sketch
- Observing if the onboard LED blinks as programmed
This initial test serves two crucial purposes:
- It verifies that we can successfully upload firmware to the board
- It confirms that the microcontroller unit (MCU) is at least partially functional
While passing this test was a good sign, it wasn’t comprehensive enough to declare a board fully operational.
Step 2: Developing a Comprehensive Testing Suite
To thoroughly evaluate each board, I developed a more robust testing program. This Arduino sketch includes several key features designed to test various aspects of the board’s functionality:
- Interactive Serial Menu Interface: The program presents a user-friendly menu via the serial monitor, allowing easy selection of different testing options.
- Digital Pin Testing: Users can set all digital pins either high or low. This feature enables manual testing with a multimeter to verify the output of each pin.
- Analog Input Reading: The sketch reads values from all available analog channels, providing a quick overview of the analog-to-digital converter (ADC) functionality.
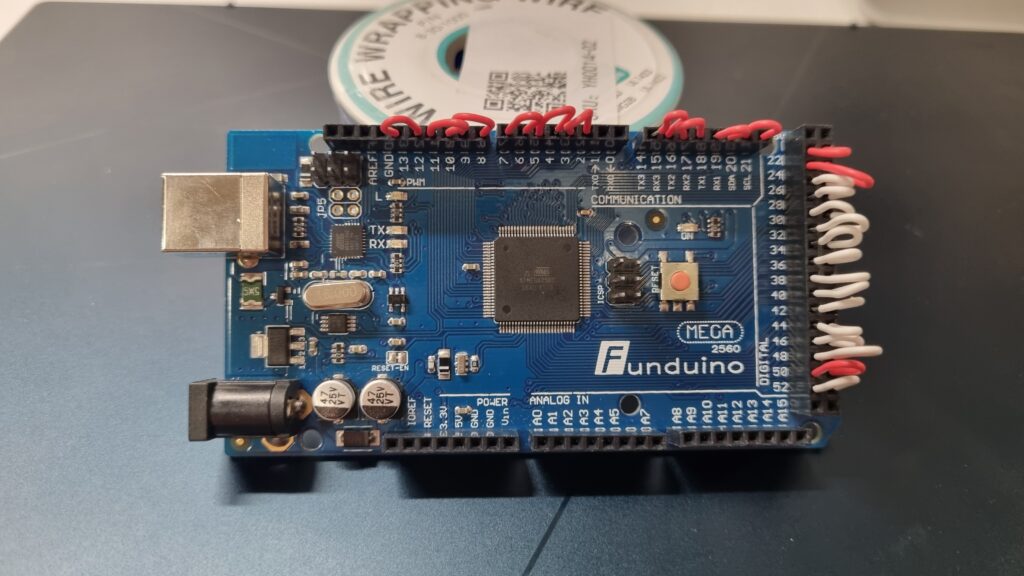
- GPIO Read/Write Pair Testing: This clever test involves creating temporary connections between pairs of digital pins (e.g., connecting D0 to D1 with a wire-wrap wire). The code then sets one pin high and reads the state of the connected pin, providing an immediate test of both write and read capabilities for GPIO pins.
The Testing Process
Here’s how we use this comprehensive testing suite:
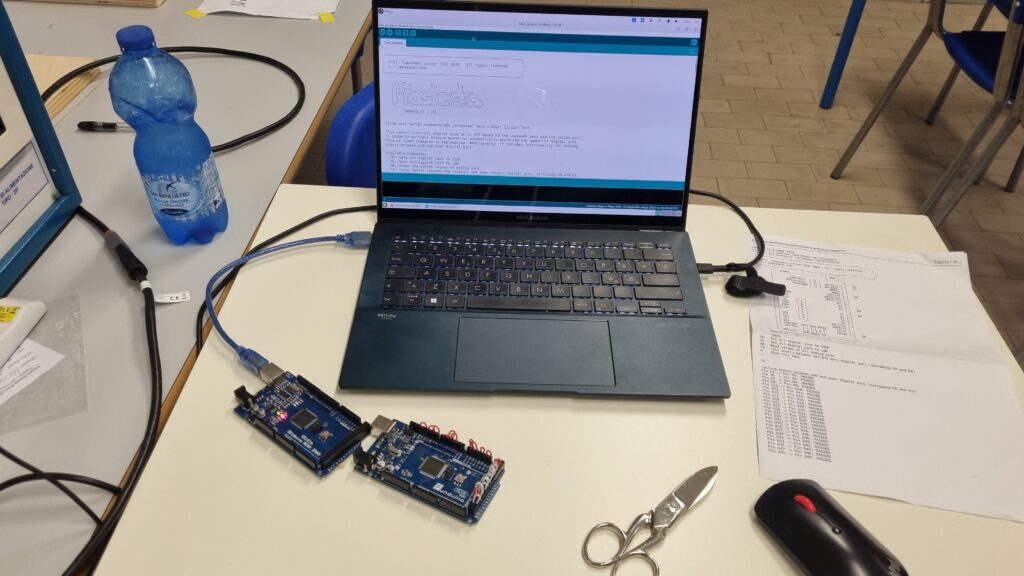
- Connect the potentially “broken” Arduino board to a computer.
- Upload our custom testing sketch to the board.
- Open the Serial Monitor to access the menu interface.
- Choose from various testing options:
- Set all digital pins high or low for multimeter testing.
- Read all analog inputs.
- Perform paired GPIO tests (requires manually connecting pins with jumper wires).
- Review the results in the Serial Monitor to determine which components of the board are functioning correctly.
Download
Here you can get the Arduino IDE sketch Extended_test
Results and Impact
This project has had several positive outcomes:
- Equipment Recovery: We’ve been able to identify and recover several boards that were fully functional or needed only minor repairs.
- Cost Savings: By reviving these boards, we’ve saved our department money that would have been spent on new equipment.
- Educational Value: This project has become an excellent hands-on learning opportunity for students, teaching them about:
- Basic electronics troubleshooting
- The importance of thorough testing in electronics
- Arduino programming and hardware interaction
- Sustainability: By repairing and reusing equipment, we’re promoting a more sustainable approach to managing our lab resources.
Conclusion
What started as a simple clean-up task has evolved into a valuable educational project. By developing this comprehensive testing method, we’ve not only created a tool for diagnosing Arduino boards but also opened up new avenues for teaching practical electronics skills.
This experience serves as a reminder that in the world of education and technology, one person’s “trash” can indeed become another’s treasure. It underscores the value of critical thinking, problem-solving, and not taking things at face value – all crucial lessons for our budding engineers and technicians.